In this tutorial we are going to create a Ruby on Rails application that will use elasticsearch to allow users to store and search their content. The sample application will be a stupid simple blog and the data will be, what else, posts. The integration with elasticsearch will be accomplished via the elasticsearch gems for Rails and we will use Kibana to view and check our index configuration.
Note: The code of this tutorial is available at GitHub.
What is elasticsearch?
Elasticsearch is an opensource JSON-based search engine that allows us to search indexed data quickly and with options that are not provided by classic data stores. You will better understand the tool’s usage once we start working on it later on on this tutorial. For now, just keep that we will store data to a database and will index them to an elasticsearch instance and afterwards we will search the indexed data via a Rails application.
Prerequisites
Elasticsearch
Providing instructions for installing elasticsearch is out of this tutorial’s scope. I recommend visiting the tool’s related documenation site.
After the installation, just make sure to start the service if it’s not started.
You can check that with curl http://localhost:9200.
It should give something like:
{
  "name" : "asdfasdf",
  "cluster_name" : "elasticsearch",
  "cluster_uuid" : "asasdfdf-as",
  "version" : {
    "number" : "6.0.0",
    "build_hash" : "asdf",
    "build_date" : "2017-11-10T18:41:22.859Z",
    "build_snapshot" : false,
    "lucene_version" : "7.0.1",
    "minimum_wire_compatibility_version" : "5.6.0",
    "minimum_index_compatibility_version" : "5.0.0"
  },
  "tagline" : "You Know, for Search"
}
As you can see, we will use elasticsearch version 6.0.0 in this tutorial.
Ruby
You should have ruby installed on your system. I use RVM to manage multiple ruby versions installed on my system. If you want to go with that too, you can find instructions for installing the tool in its homepage and for installing ruby versions (a.k.a. rubies) the related documentation page.
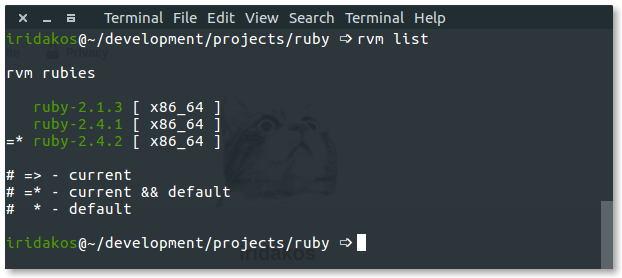
This tutorial is using Ruby 2.4.2. You can check yours using: ruby --version or via RVM with rvm list.
Rails
Given that you have ruby installed, we will need the rails gem as well. We will use the latest stable version at the moment this turorial is written, which is 5.1.4.
gem install rails -v 5.1.4
You can check the version of your installed rails gem with:
rails --version

Important note: when working on tutorials, always try to use the same versions of software as described in them to avoid losing time figuring out what is wrong if you don’t see the same results as provided in the tutorial. With that in mind, make sure that you have the following versions installed:
- Elasticsearch 6.0.0
- Ruby 2.4.2
- Rails 5.1.4
Create the rails application
Time to create our application. Let’s name it elastic_rails.
Navigate to your development directory (mine is under ~/development/projects/ruby for ruby projects) and execute the following command:
rails new elastic_rails
After a bunch of logs, the application has been created. Let’s start it to confirm that everything is good.
cd elastic_rails
rails s
Note: the s in the command rails s is an alias for server. You can start the server with rails server too.
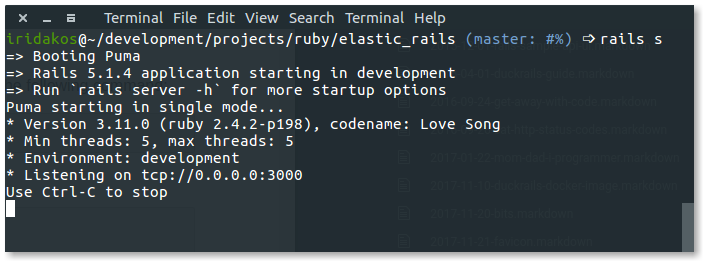
As declared in the puma startup log, the server is listening on port 3000. Let’s visit the application from the browser. Navigate to http://localhost:3000.
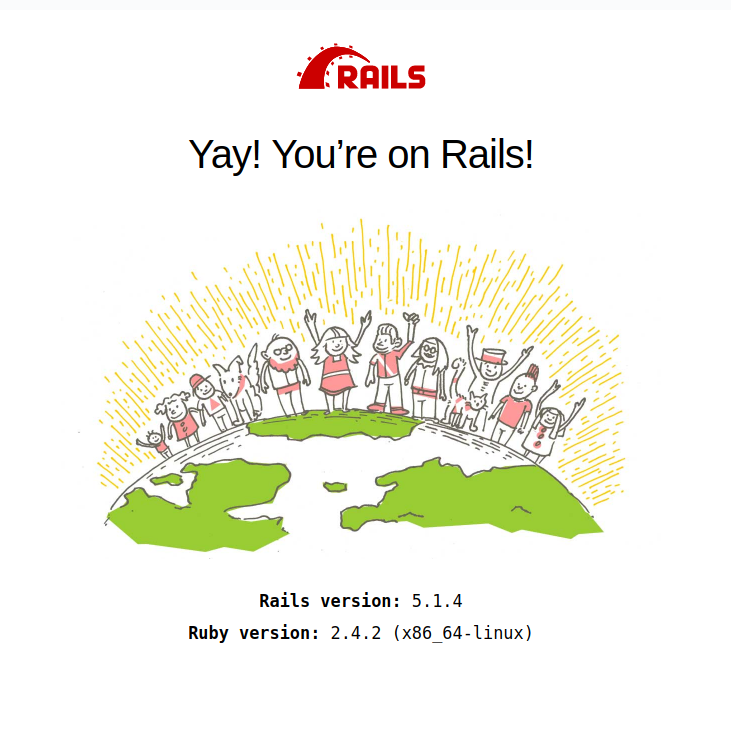
You should be seeing this:
Define the model
Let’s say that we had a blog and we wanted to allow our visitors to search our posts. We are going to define the Post model.
By default, our new Rails application is configured to use the sqlite3 database and that works fine in our case since setting up a database and customizing rails to use it, is out of this tutorial’s scope.
Generate the model with the following command:
bundle exec rails generate model Post author:string title:string body:text tags:string published:boolean published_on:timestamp
and create the database along with the table for the posts with this command:
bundle exec rake db:create db:migrate
To make sure we’re good with the database, open a rails console with the command:
bundle exec rails c # `c` is an alias for `console`
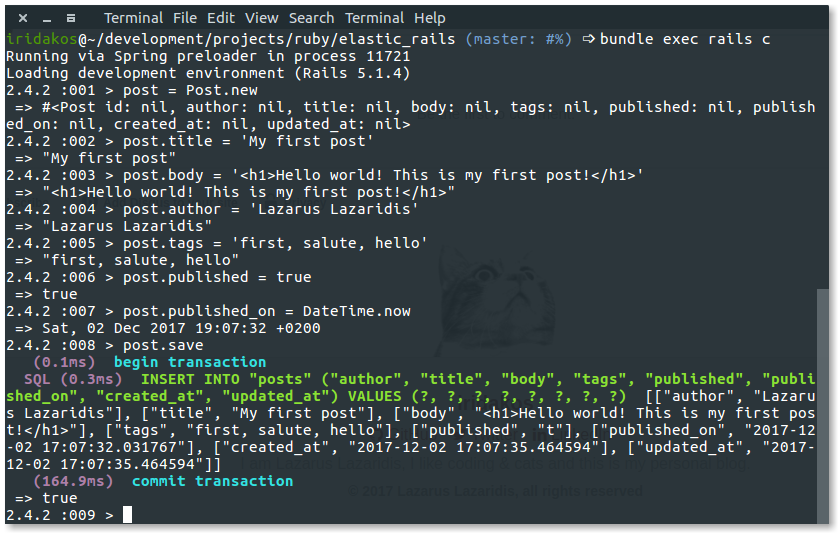
Create a post, assign your desired values to its attributes and save it.
post = Post.new
post.title = 'My first post'
post.body = '<h1>Hello world! This is my first post!</h1>'
post.author = 'Lazarus Lazaridis'
post.tags = 'first, salute, hello'
post.published = true
post.published_on = DateTime.now
post.save
Success!
Define the controller
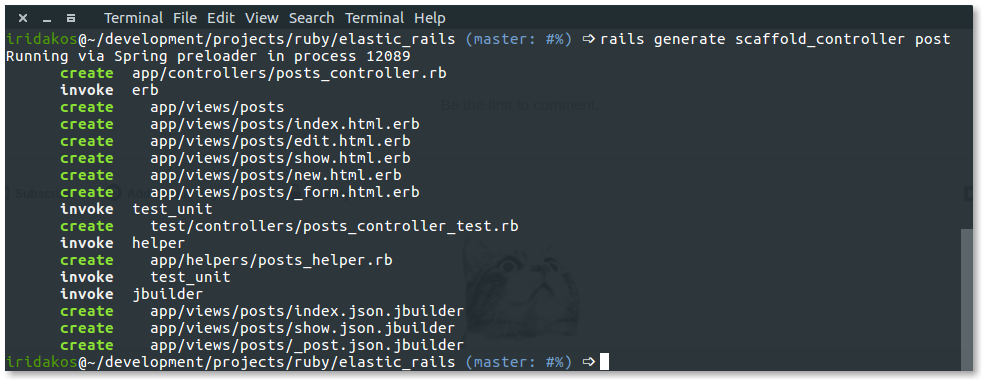
We will also define a controller to handle posts. We are going to scaffold the controller instead of creating all the files ourselves to keep within the scope of the tutorial. So, from the command line execute:
bundle exec rails generate scaffold_controller post
Tadaaaaa
Now, we are going to define the post routes and set the index page of posts as the application’s homepage.
Open the routes file config/routes.rb and edit as shown below:
Rails.application.routes.draw do
  # For details on the DSL available within this file, see http://guides.rubyonrails.org/routing.html
  root 'posts#index'

  resources :posts
end
Let’s start the server (if it is already started, restart it) and navigate to http://localhost:3000.
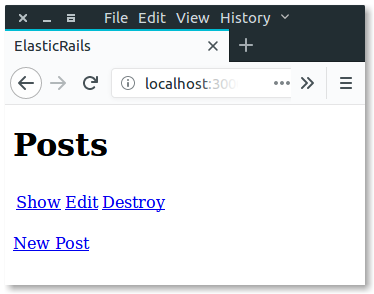
The links don’t do much at the moment but we are going to change this later on.
Time to talk elastic.
Elasticsearch gem
As described in the overview, we are going to use existing gems to integrate with elasticsearch, the elasticsearch-rails & elasticsearch-model gems.
Open your Gemfile and add the following lines:
gem 'elasticsearch-model', git: 'git://github.com/elastic/elasticsearch-rails.git', branch: 'master'
gem 'elasticsearch-rails', git: 'git://github.com/elastic/elasticsearch-rails.git', branch: 'master'
Important note: at the moment this tutorials was being written, we had to use the master branch of the elasticsearch-rails repository so that we could use version 6.0.0 of elasticsearch. If you have problems in the future due to releases of newer versions of elasticsearch (and the master branch is not compatible with version 6.0.0), make sure to update the branch in the Gemfile above accordingly.
We must then fetch the gem by executing the following command from withing the application’s root directory:
bundle
Perfect. We are now ready to tell our model that it’s going to be indexed in elasticsearch.
Open the app/models/post.rb file and edit it to look like this:
class Post < ApplicationRecord
  include Elasticsearch::Model
  include Elasticsearch::Model::Callbacks
end
What we did here?
- We actually defined that
Postis not only an application record in the rails world but also a model in the elasticsearch world. - We added callbacks so that each time a post is saved/updated/deleted, the related indexed data get updated accordingly too. Before explaining what does this mean, let’s call another elasticsearch friend to help.
Kibana
Kibana is a tool mainly allowing visualization of elasticsearch data. In our case, we will use kibana to see the effects of our code on elasticsearch.
Once again, follow the official instructions for installing kibana at your machine’s OS. I followed this guide for installing the tool via a repository in Ubuntu.
Start the kibana service and navigate to its home page at http://localhost:5601. We will use heavily the Dev Tools which is a powerful console talking to our elasticsearch engine.
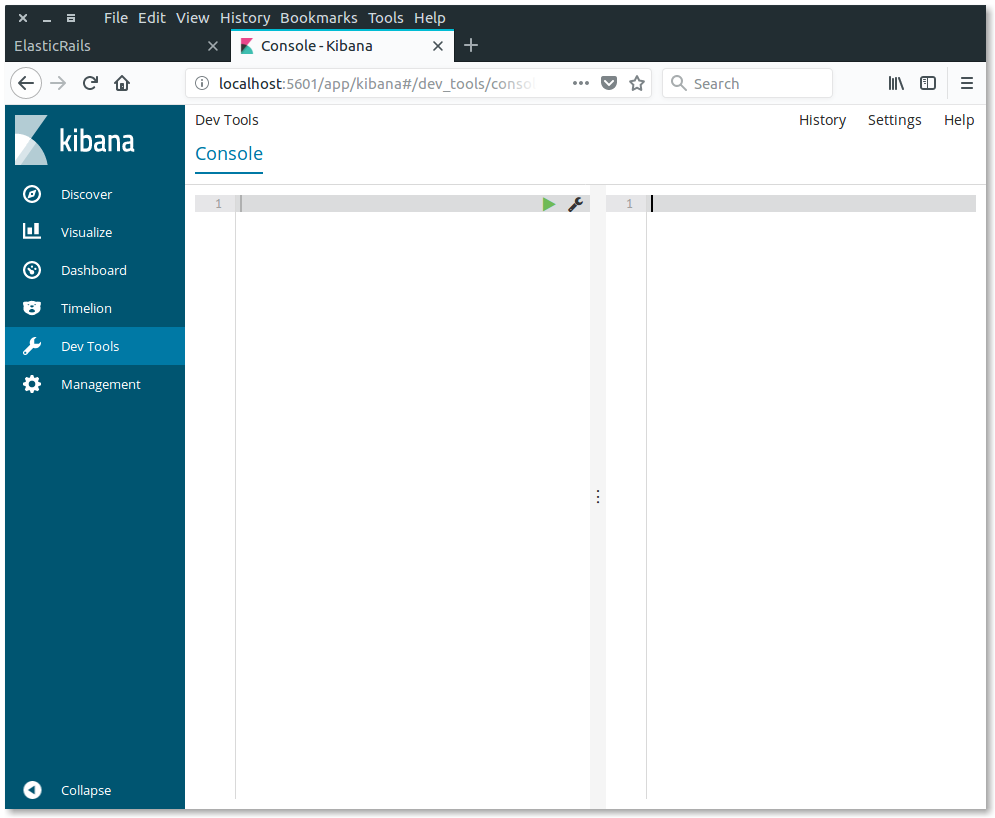
On the left section of the console we write our commands and on the right part we see their execution output.
To view what indexes are currently present in our elasticsearch instance, execute the following command in Kibana:
GET _cat/indices?v
Well, at the moment there is only one index with the name .kibana which is obviously not ours. Lets go back to rails console and execute the command that will import our current posts (one post actually) to elasticsearch to see what happens.
Post.import

As you can, since we haven’t created the index for the posts, the command failed to execute. Reading the error we do understand that the gem automatically tried to find an index named as the plural form of our model name posts. Following the hint, we will execute the command, this time demanding the creation of the index if it doesn’t exist.
Post.import(force: true)
Back to kibana now, let’s see what has happened to our instance’s indices.

As you can see, the posts index was created successfully. But keep this in mind: the index was created automatically, we didn’t have the opportunity to define what fields should be indexed, what should each record in the index contain or set any other kind of configuration. Don’t worry though, later on we will change this approach. We will re-create the index explicitly the way we want it to be.
The Post.import command we execute before was supposed to also index all of our posts. If you remember, we only have inserted one single post so far. Let’s see what Kibana has to say about this. Type the following command in the Dev Tools:
GET posts/_search
The command will search for post records without any filters/terms/criteria in the posts index so we expect to get one result. And there it is.
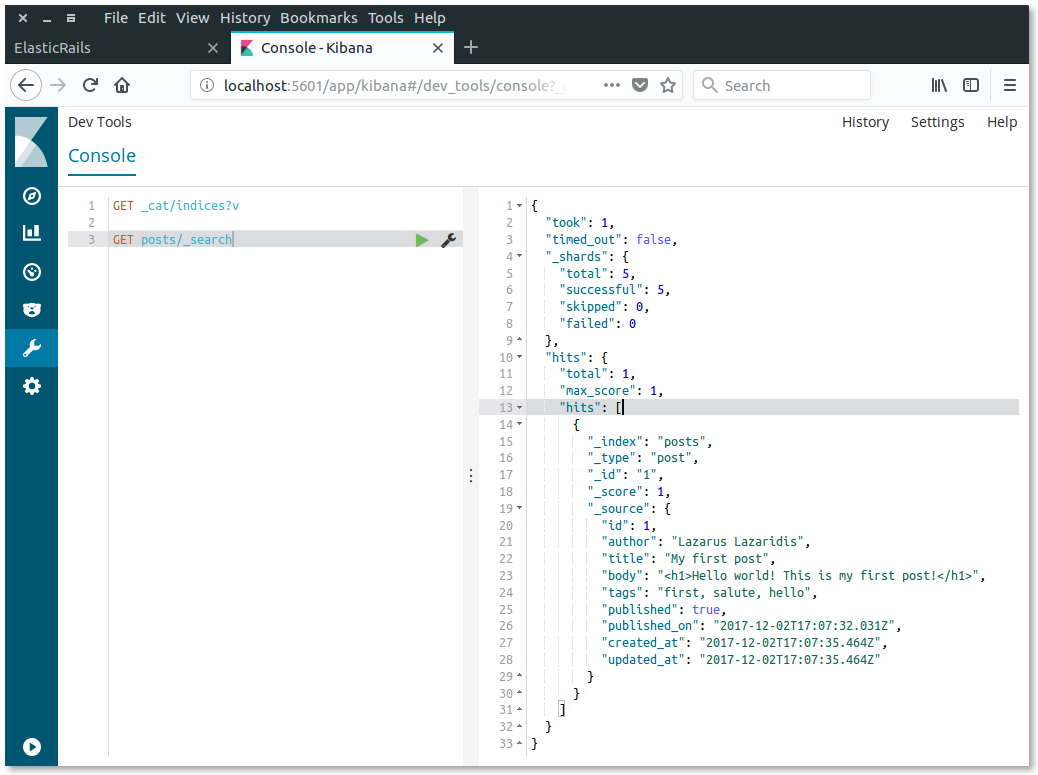
We are interested in the hits attribute of the response’s JSON and escecially its _source attribute. As you can see, all of our model’s columns have been serialized in the document that has been indexed for that post in elasticsearch.
But do we need all these attributes there? And what if we needed attributes from children models there too? All these are configurable via specific commands of the elasticsearch-model gem which we already use. We are going to customize this behavior later on.
Let’s open the rails console once more and search in the elasticsearch data this time via our model’s methods.
results = Post.search 'world'
results.size
results.first
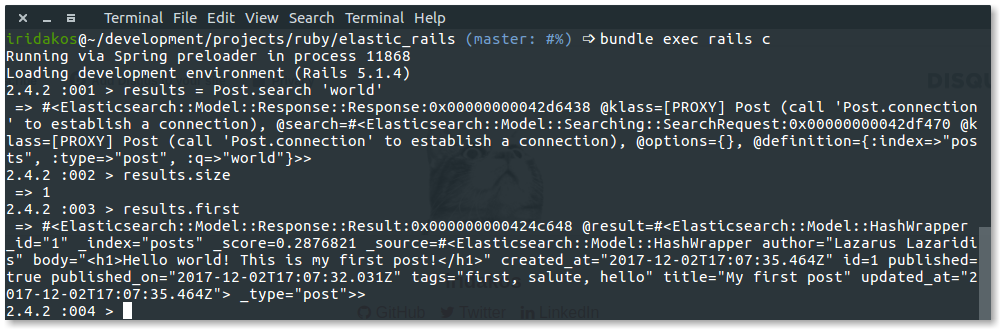
The first command executes the simplest kind of search in our index. And it brought results! The same will happen if you search for salute or ‘lazarus’ or post since our unique model contains these words in the title/body/tags/author fields.
Now try to search with worlds or posts:
Post.search('worlds').size
Post.search('posts').size
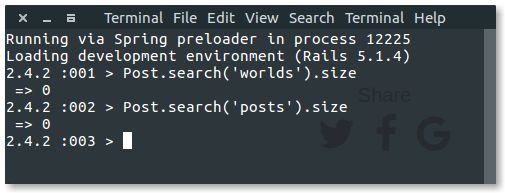
Hmmm. No results even though we would like elasticsearch to understand that we used the plural of words contained in our model. We are going to alter the configuration to match our needs.
Define the index
We are going to define the index ourselves instead of letting the elasticsearch gem define it automatically with defaults.
To do so, edit the app/models/post.rb file to look like this:
class Post < ApplicationRecord
  include Elasticsearch::Model
  include Elasticsearch::Model::Callbacks

  settings do
    mappings dynamic: false do
      indexes :author, type: :text
      indexes :title, type: :text, analyzer: :english
      indexes :body, type: :text, analyzer: :english
      indexes :tags, type: :text, analyzer: :english
      indexes :published, type: :boolean
    end
  end
end
What did we do here?
- When creating the index, we instructed to use only the fields that we actually want to be indexed skipping the
published ondate and the active record’s automatically generatedcreated_atandupdated_atattributes. - We used the
englishanalyzer for the fields containing “normal text” so that cases like singular/plural version of terms are treated the same way (and much more).
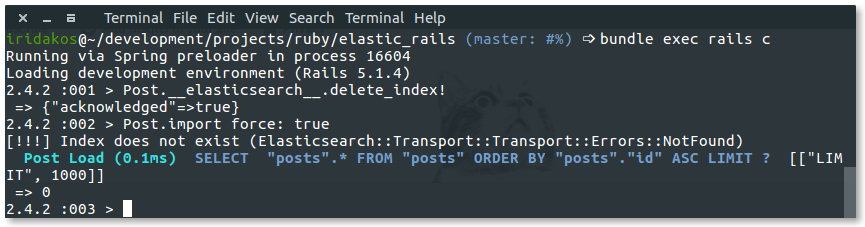
Since our index had already been created automatically before, we have to re-create it. In the rails console execute to delete the index:
Post.__elasticsearch__.delete_index!
and execute to create it again this time with our configuration:
Post.import force: true
All good. Now try searching for ‘posts’:
> Post.search('posts').size
 => 1
> Post.search('salutation').size
 => 1
> Post.search('worlds').size
 => 1
As you can see, we don’t only fetch results for either singlular/plural versions of a term but also we can get results for both salute and salutation. This magic is provided due to the english analyzer that we defined in the english earlier.
All good so far but what if wanted to introduce filters on our search, for example searching only published posts?
Define searches
To demonstrate the filtered search, we will first add another post in our database, this time with the published flag set to false.
In the rails console:
post = Post.new
post.title = 'Elastic search and rails [WIP]'
post.author = 'iridakos'
post.body = '<h1>Integrating elasticsearch in your rails application</h1> In this post [wip]'
post.published = false
post.save
Reminder: since we included the Elasticsearch::Model::Callbacks in our model, the save command above triggered the related elasticsearch functionality that indexes the new post.
Now try searching for the word ‘post’ that exists in both of our posts:
> Post.search('post').size
 => 2
>
For convenience, we are going to create a class method in the Post model that will take the search query as argument but it will fetch only published posts. Add the following method in the app/models/post.rb file:
def self.search_published(query)
  self.search({
    query: {
      bool: {
        must: [
        {
          multi_match: {
            query: query,
            fields: [:author, :title, :body, :tags]
          }
        },
        {
          match: {
            published: true
          }
        }]
      }
    }
  })
end
What we actually did here is to define a query that must comply with two rules:
- match the given term in any of the fields
author,title,body&tags - have
truevalue at thepublishedfield
Now, searching again for the post term we get only the published post.
> Post.search('post').size
 => 2
> Post.search_published('post').size
 => 1
Show me what you did
Well, the application’s UI is very basic and we won’t improve it much. We will though create a new page to demonstrate the functionality we implemented. The general idea is to create a search page with a text field that will accept the user’s term and a button to proceed to post searching.
Add the route
First we have to update our routes with the new action that will serve the search functionality. Update the resources :posts of the config/routes.rb line to this:
resources :posts do
  collection do
    get :search
  end
end
Add the controller action
Now, in the posts controller we have to implement the new search action which will, what else, use the search_published action that we added in the Post model. Add the method before the private declaration.
def search
  query = params[:search_posts].presence && params[:search_posts][:query]

  if query
    @posts = Post.search_published(query)
  end
end
As you will see in the next section (with the view), the search form will have its method attribute set to get in order to be able to have bookmarkable search links. So, either user visits the search page for the first time or after a form submit, the same search action of the controller will be executed. To distinguish the cases, we check the presence of the related query parameter to see if we’re going to proceed to search in elasticsearch.
Add the view
Create a new file named search.html.erb under app/views/posts and add the following code in it:
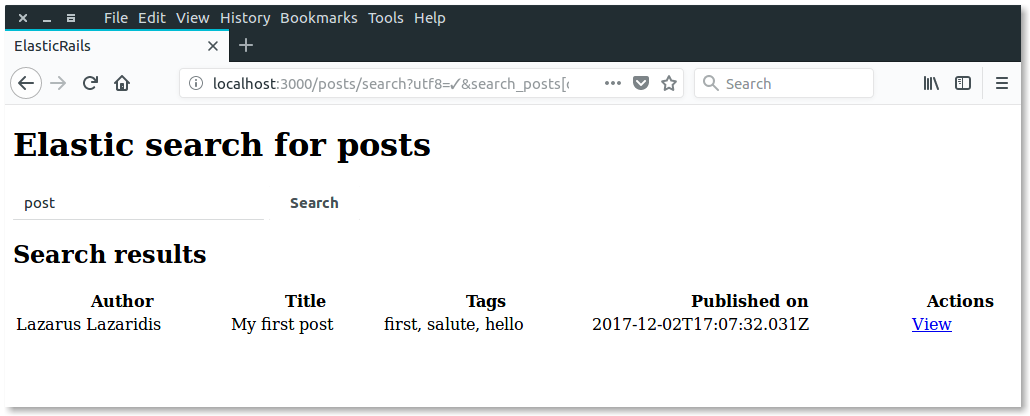
<h1>Elastic search for posts</h1>

<%= form_for :search_posts, url: search_posts_path, method: :get do |form| %>
  <%= form.text_field :query, value: params[:search_posts].presence && params[:search_posts][:query] %>
  <%= form.submit 'Search' %>
<% end %>

<% unless @posts.nil? %>
  <% if @posts.empty? %>
    <h2>No posts found matching your query.</h2>
  <% else %>
    <h2>Search results</h2>

    <table style="width: 100%;">
      <thead>
         <tr>
           <th>Author</th>
           <th>Title</th>
           <th>Tags</th>
           <th>Published on</th>
           <th>Actions</th>
         </tr>
      </thead>

      <tbody>
        <% @posts.each do |post| %>
          <tr>
            <td><%= post.author %></td>
            <td><%= post.title %></td>
            <td><%= post.tags %></td>
            <td><%= post.published_on %></td>
            <td><%= link_to 'View', post_path(post.id) %></td>
          </tr>
        <% end %>
      <tbody>
    </table>
  <% end %>
<% end %>
Pretty self explanatory:
- We add the form
- We render nothing else if the
@postsvariable isnil(user hasn’t searched) - We render a message if we don’t find any posts -
@posts.empty? == true - We render a table with the found posts -
@posts.empty? == false - Note: even though the @posts variable doesn’t contain
Postinstances but elasticsearch results, we can still access the properties as if it was aPost. Whatever added in the_sourceproperty is accessible on the elasticsearch result as is.
Finally, let’s add a link to the homepage of the application so that we can use it to navigate to our search page. Open and edit app/views/posts/index.html.erb to look like this:
<p id="notice"><%= notice %></p>

<h1>Posts</h1>

<p>
  Press <%= link_to 'here', search_posts_path %> to search for posts.
</p>

<table>
  <thead>
    <tr>
      <th colspan="3"></th>
    </tr>
  </thead>

  <tbody>
    <% @posts.each do |post| %>
      <tr>
        <td><%= link_to 'Show', post %></td>
        <td><%= link_to 'Edit', edit_post_path(post) %></td>
        <td><%= link_to 'Destroy', post, method: :delete, data: { confirm: 'Are you sure?' } %></td>
      </tr>
    <% end %>
  </tbody>
</table>

<br>

<%= link_to 'New Post', new_post_path %>
Restart the server and navigate to home page.

Clicking on the here link, you reach at the search page.
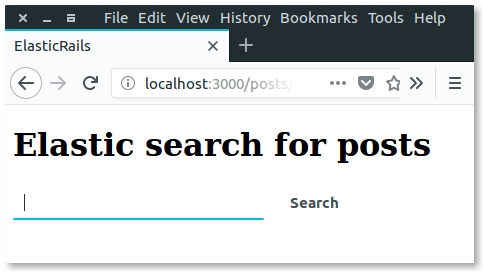
Submitting a query you are still on the search page but this time with the results found on elasticsearch.
Conclusion
Elasticsearch is an awesome and powerful tool. This tutorial was written only to give an introduction of how to integrate Elasticsearch in a Rails application and does not cover the great and super cool stuff you can do with elasticsearch.
Useful links
Long post, cat photo. Here’s my elastic cat.

 (
(